


Table of Contents
Categories
Most Popular


Whenever you create a new Push Notification campaign you need to test it first. Previously, test Pushes didn’t show any personalization options such as the user’s name – so you never saw exactly what your users will see. Now they do.
Here’s how it works:
Find the Profile(s) you want to use for testing and mark them as test right from the Profile Page. We’ve also added the CleverTap customer ID right on the Profile page so that you can search on this ID later on when you are setting up your notifications and want to schedule a test.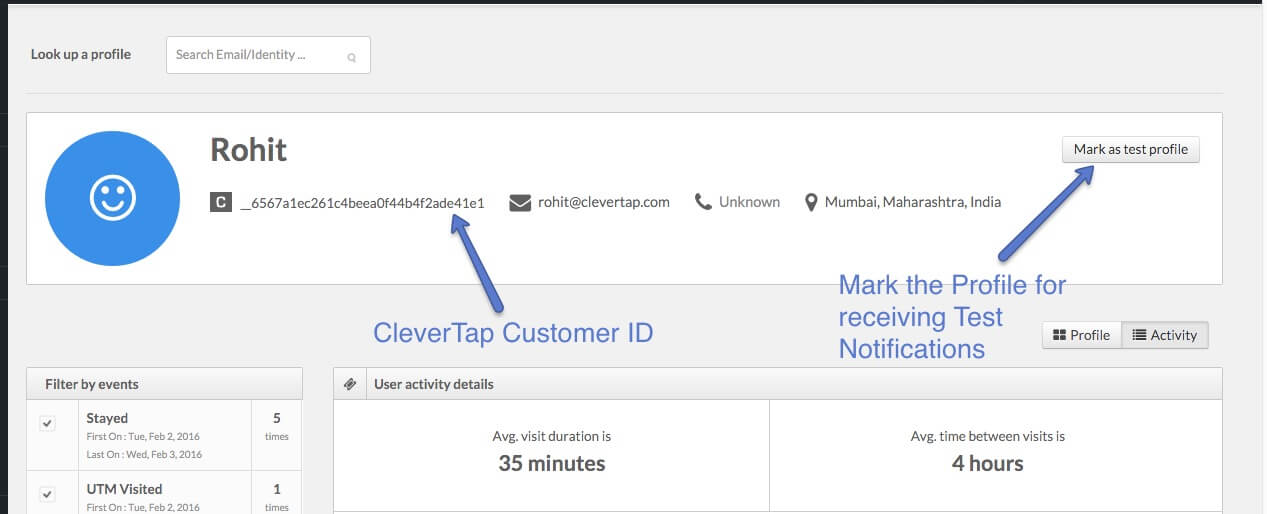
Next, when you are creating a new Push campaign, click the link to Send a Test Push Notification: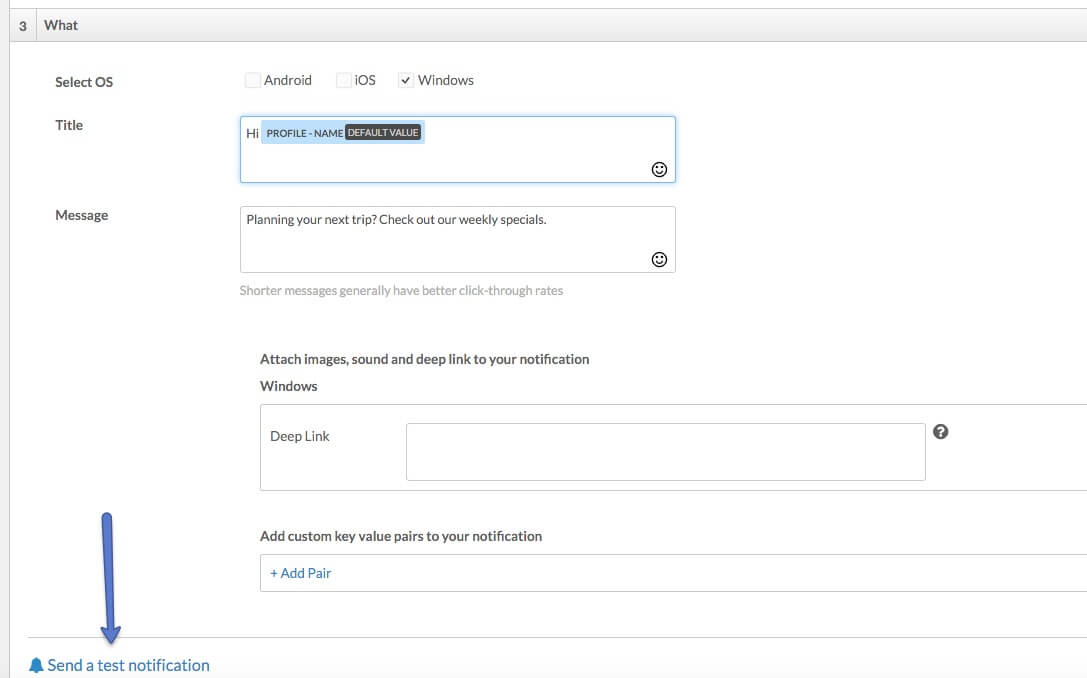
This brings up a dialog where you can select the desired profile(s) to send your test notification to or alternatively search for a profile directly using email, developer defined customer identity or the CleverTap ID.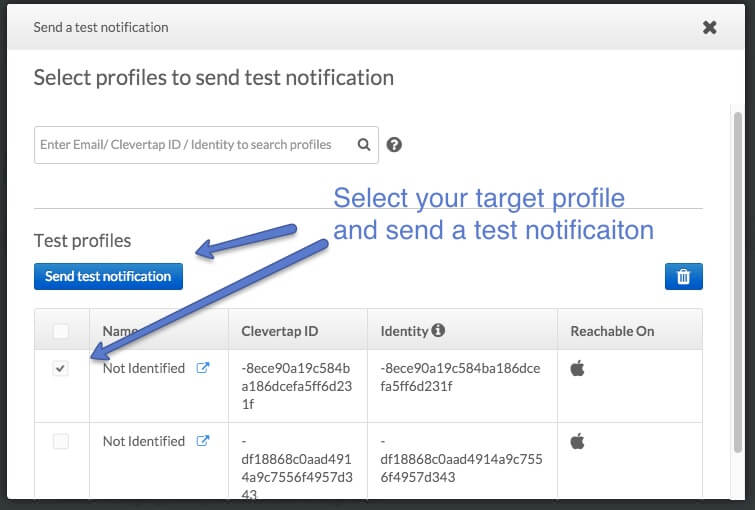
Test notifications are send to all selected profiles and any personalization fields (such as Profile-Name) you may included in the push notification will be rendered.
Shivkumar M 
Head Product Launches, Adoption, & Evangelism.Expert in cross channel marketing strategies & platforms.
Free Customer Engagement Guides
Join our newsletter for actionable tips and proven strategies to grow your business and engage your customers.